
Last updated November 22, 2026
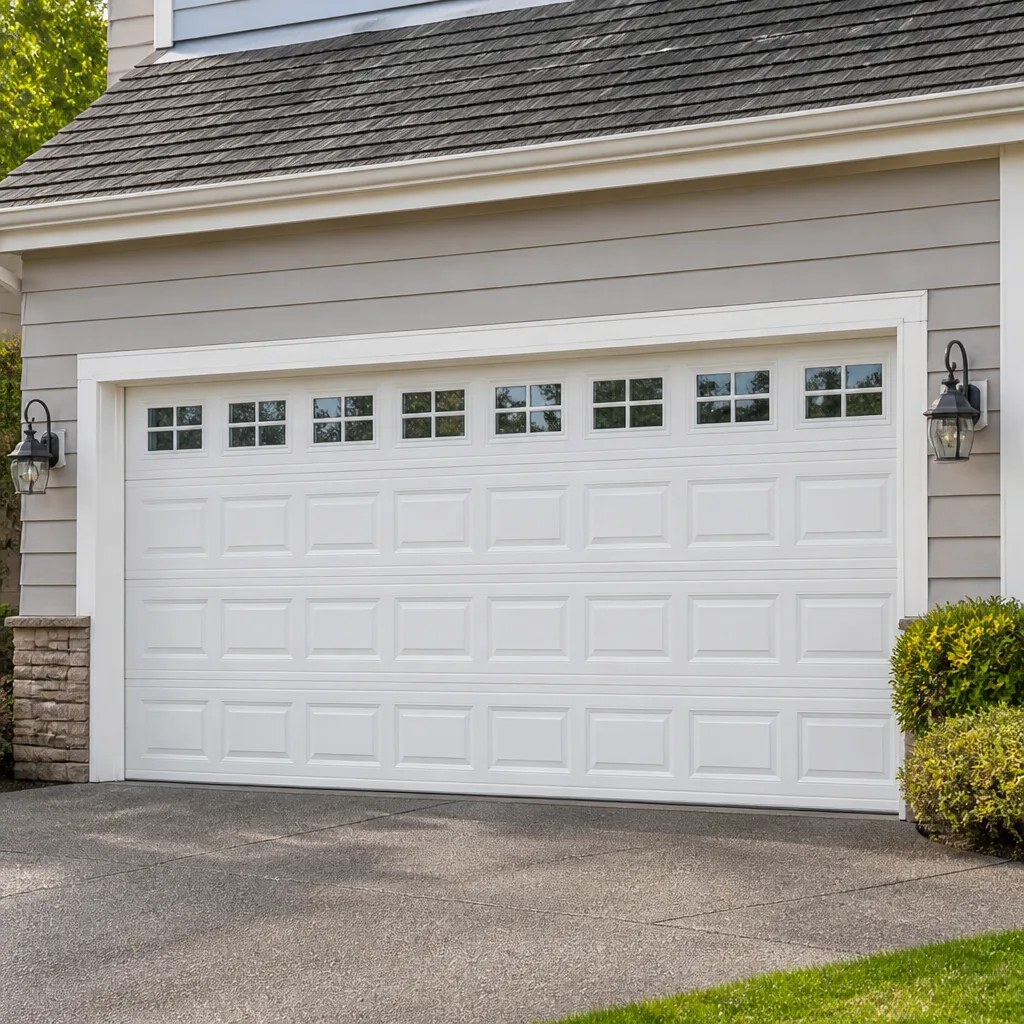 Raised-panel steel
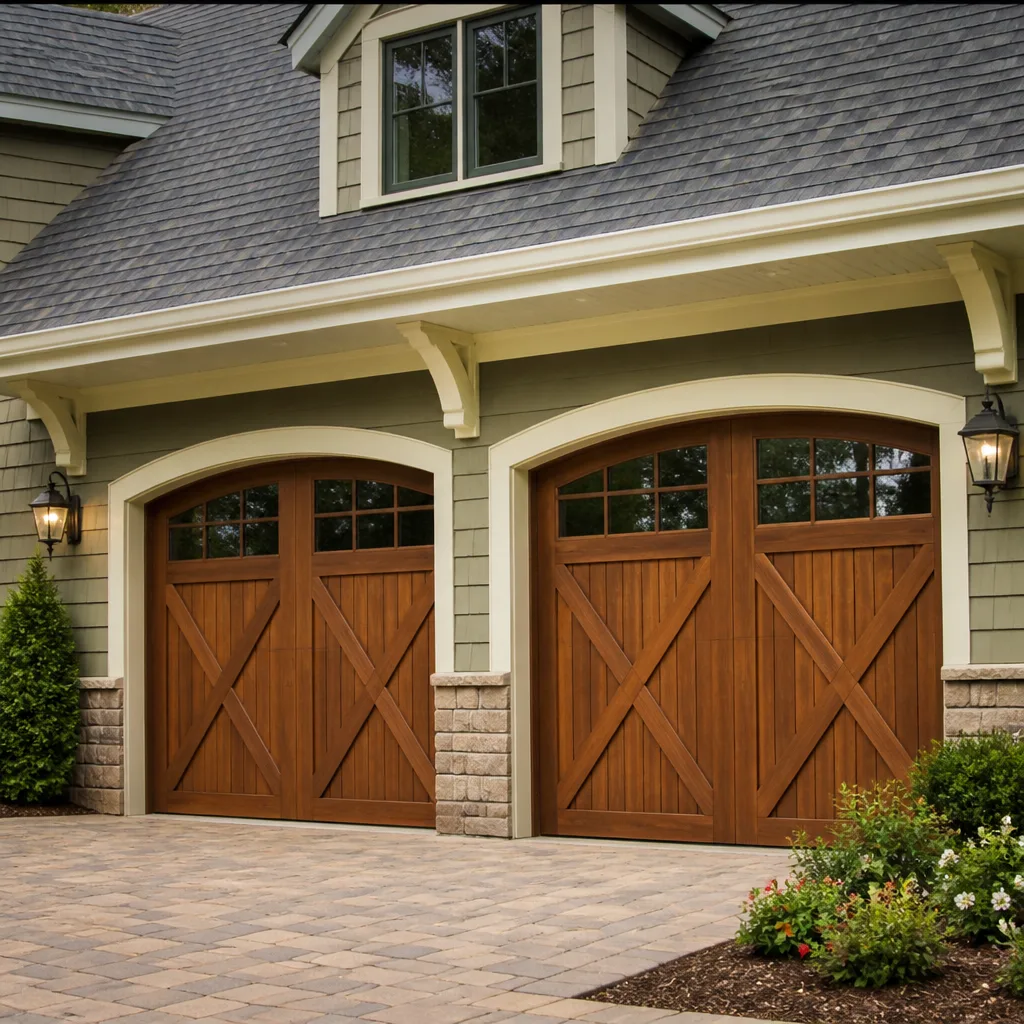 Carriage house
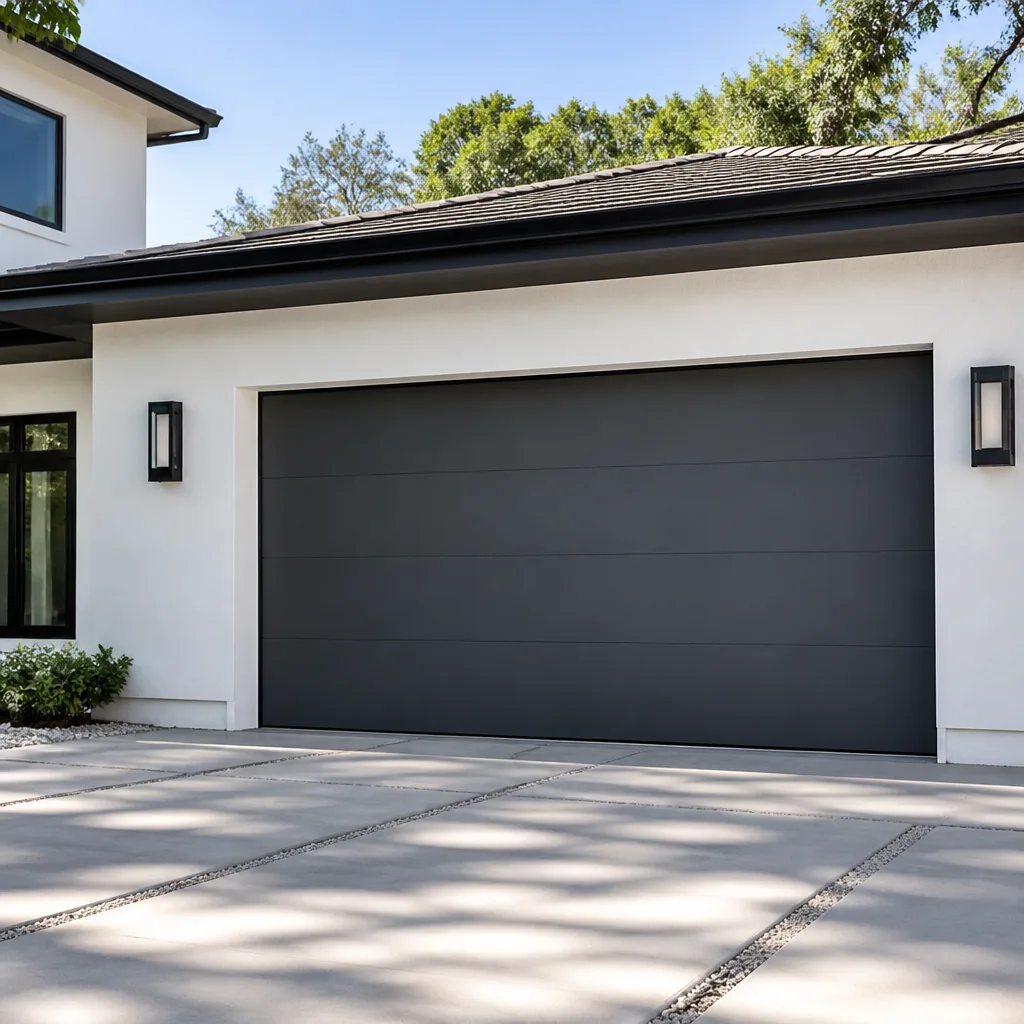 Modern flush
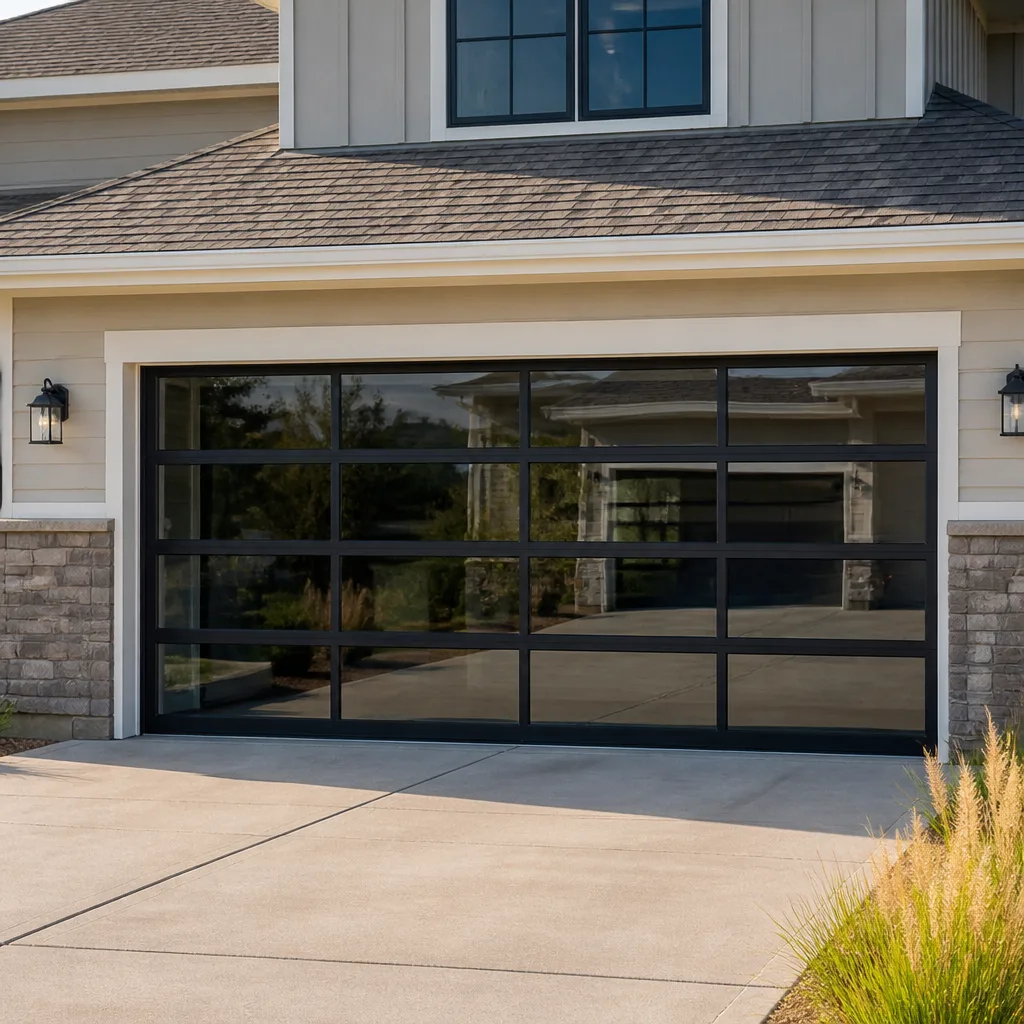 Full-view glass
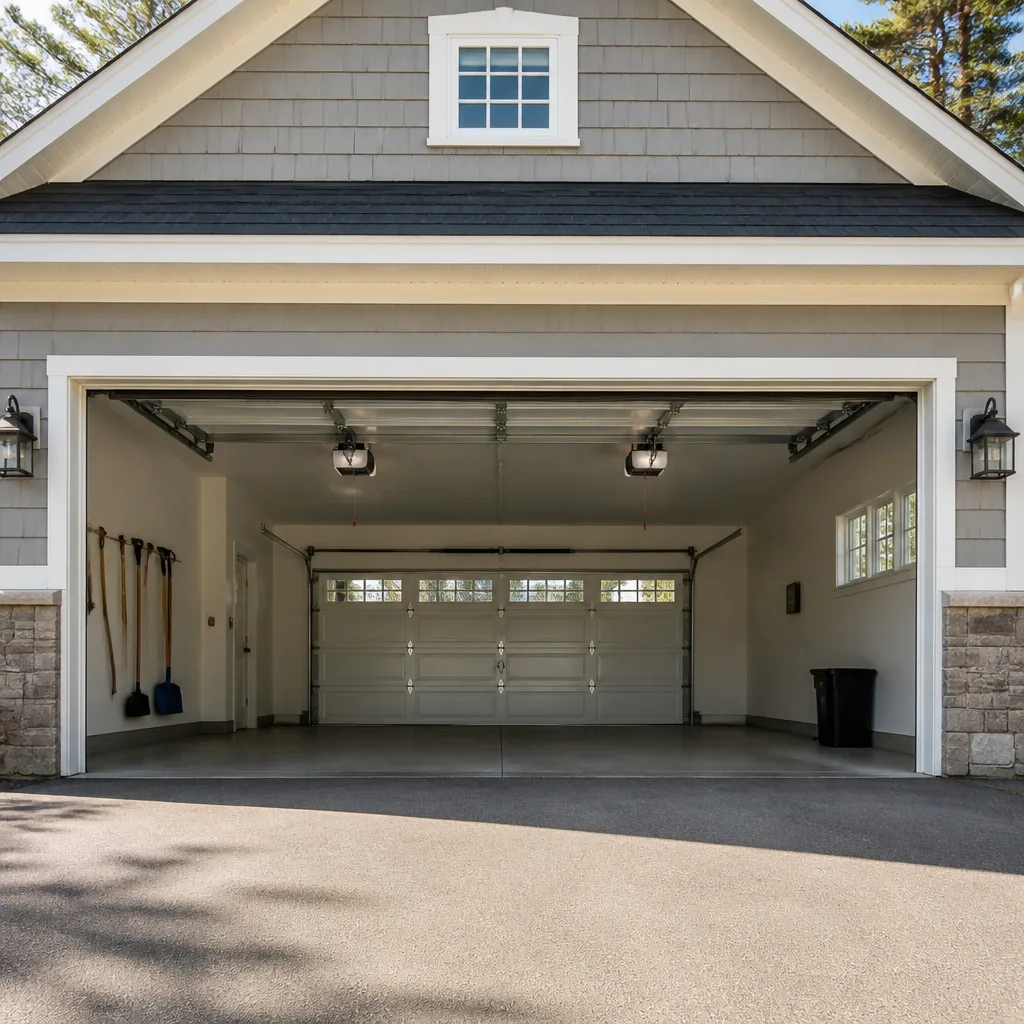 LiftMaster openers
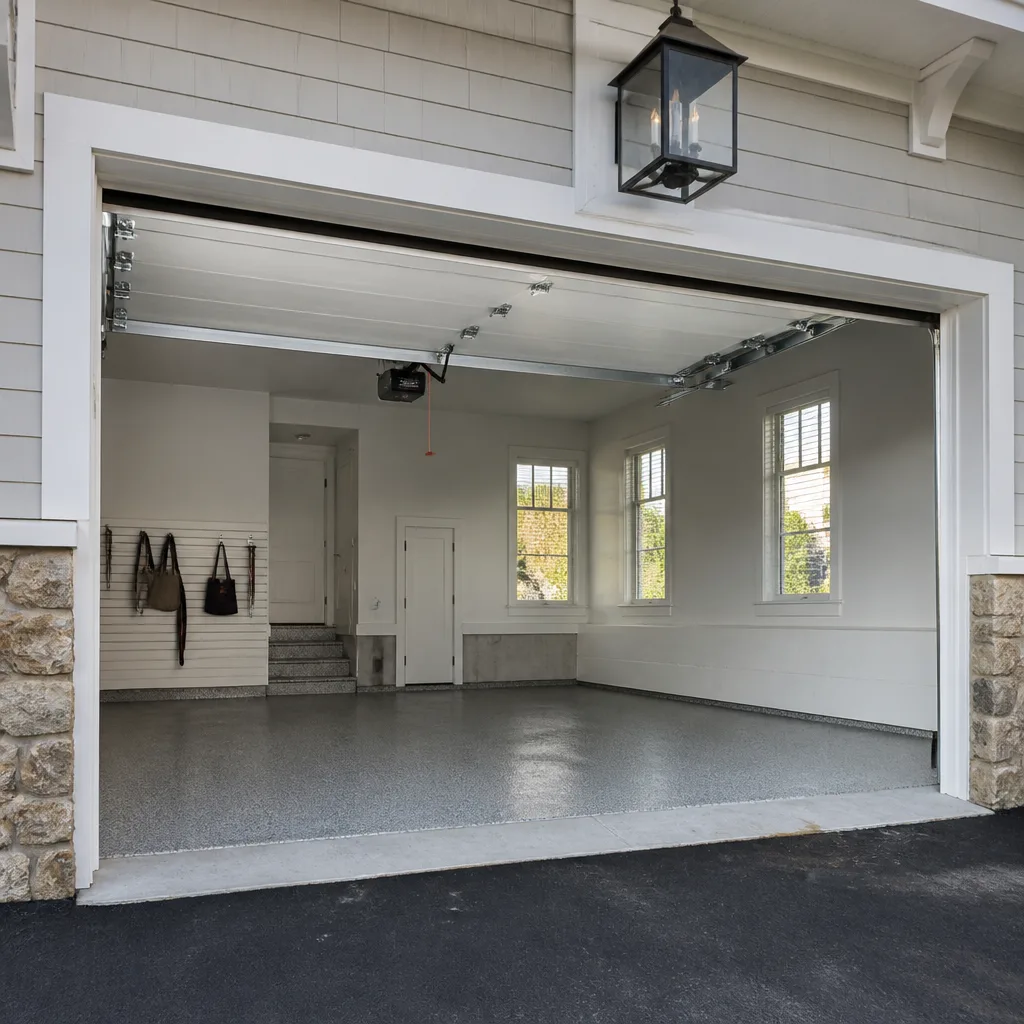 Chamberlain openers
Full 25-point door and opener safety check with every visit - springs, cables, rollers, tracks, and your LiftMaster or Chamberlain opener included
You get a price before we start. It does not change when the pro arrives.
Get your free estimateGarage Door Repair Maintenance Checklist for Miramar Homeowners
Most garage door checklists you’ll find online were written for a house somewhere with four distinct seasons and a dry summer. That’s not the house you live in. In Miramar, the thing that wears a door down isn’t a hard freeze or a snow load. It’s heat, humidity and the long, slow work those two do on steel, wood and rubber every month of the year. We work on doors across Miramar, from Sunset Lakes to Riviera Isles, and the failure patterns we see repeat in ways a national checklist never mentions. This guide is what to look at, how often, which jobs you can safely handle yourself, and which ones you should never touch. Read it and you’ll know more about your door than a lot of people who get paid to look at it.
Quick Answer
A garage door in Miramar needs a quick visual check every month, a balance test every three months, and a proper lubrication and hardware inspection twice a year. The monthly checks that matter most here are rust bloom on the spring coils, swelling or warping on wood panels, a flattened bottom seal, and any change in how the door sounds or moves. Springs, cables and the opener’s internal gearing are professional-only territory, but the rest of the checklist is something you can run yourself in about ten minutes.
Styles & brands we work with
- Raised-panel steel
- Carriage house
- Modern flush
- Full-view glass
- LiftMaster openers
- Chamberlain openers
Table of Contents
- Why a Miramar Checklist Is Different From a National One
- The Monthly Visual Check: What to Look For in Humid Weather
- How to Test Door Balance Correctly
- Lubrication: Products That Hold Up Here and Products That Don’t
- Post-Storm Inspection After Summer Squalls
- Seals, Weatherstripping and the Bottom Line of Your Door
- Opener and Safety Reverse Checks
- Homeowner Jobs vs. Professional-Only Work
- Common Mistakes to Avoid
- When to Call a Professional
- Frequently Asked Questions
Why a Miramar Checklist Is Different From a National One
The generic maintenance advice you’ll find on most manufacturer sites assumes a mild, dry climate with a few months of cold. Miramar isn’t that. What we have is year-round warmth and humidity that stays high even in the drier months, plus a summer storm season that puts real wind and water pressure on a door system. That changes which parts fail first and how fast.
Take springs, the torsion or extension coils that carry the weight of the door. A spring’s lifespan is usually measured in open-and-close cycles, and most warranties are written around an indoor, inland environment. Here, humidity and warm air accelerate corrosion on the coils, and corrosion is what shortens a spring’s life. A spring that might last a decade in a dry climate can start showing its age much sooner in Miramar. We’re not going to hand you a specific number and pretend it’s universal, because it depends on how often you use the door and how well it’s been looked after. But the principle holds: moisture is the enemy, and moisture is what we have.
The same logic applies to the door itself. Wood panels absorb humidity and swell. Steel panels can rust along seams and at the bottom where water sits. Rubber seals harden and crack. Vinyl and aluminum doors handle the climate better but aren’t immune. A checklist built for a Miramar door has to watch for all of these, not just the mechanical stuff.
If your door is already making noise, binding or refusing to close all the way, that’s not a maintenance question anymore. That’s a repair, and it’s worth knowing the difference before you spend a Saturday on a problem that needs a technician. Our garage door repair page walks through the symptoms that point to a real fault rather than normal wear.
The Monthly Visual Check: What to Look For in Humid Weather
This is the ten-minute walkaround that catches small problems before they turn into expensive ones. You don’t need tools for most of it. You need to know what you’re looking at.
Start with the springs, mounted either above the door on a torsion shaft or along the tracks on an extension system. Look for rust bloom: the powdery orange or brown patches that form on the coils. A light dusting of surface rust is common and worth cleaning up, but pitting or flaking on the coils is a sign the spring is on its way out. Don’t touch the spring with your hands to test it. Just look.
Next, the panels. Run your eyes down each one and check for swelling, bubbling paint or soft spots, especially on wood doors. In Miramar’s humidity, a wood panel that’s starting to take on water will feel different and look different before it fails. On steel doors, check the bottom panel and the seams where panels meet, since that’s where moisture collects. Clopay and Amarr steel doors hold up well here, but any steel door will rust at the bottom edge if water sits on it.
The bottom seal deserves its own look. A healthy seal sits flat against the floor and bounces back when you press it. A worn one is flattened, cracked, brittle or torn. That seal is doing two jobs: keeping water and pests out, and cushioning the door’s impact with the floor. A hard, cracked seal on a Miramar door lets in the afternoon rain and lets out your air conditioning.
Finally, the tracks and hinges. Look for loose bolts, bent track sections or obvious debris. Don’t try to bend a track back into shape yourself; a misaligned track can cause the door to bind and come off its rollers, and that’s a technician’s job.
Here’s your monthly list in order:
- Look at the spring coils for rust bloom, pitting or flaking.
- Check every panel for swelling, bubbling, rust or soft spots.
- Press the bottom seal and look for cracks, tears or flattening.
- Scan the tracks for dents, loose brackets or debris.
- Listen to the door as it opens and closes and note any new sound.
How to Test Door Balance Correctly
A balanced door should stay put at roughly the halfway point when you let go, and it should lift easily by hand. If it drops on its own or feels heavy, the springs are losing their lift and the opener is doing work it wasn’t designed to do.
Here’s how the test goes. Disconnect the opener first, using the manual release cord, so the door is running on its springs alone. Lift the door by hand to about waist height and let go. A properly balanced door should sit there, or drift only slightly. It should not slam down, and it should not rise on its own. Try it at a couple of heights, not just one. Then reconnect the opener and run the door once to confirm it cycles normally.
What a “passing” result actually looks like matters more in Miramar than people realize. A door that tests fine in a cool morning can behave differently after a few hours in direct sun, because heat expands the metal and can change how the door rides in its tracks. If your balance is borderline, test it at different times of day before deciding it’s fine. And if the door feels noticeably heavier than it did a few months ago, that’s a spring telling you something, even if the test technically passes. Do not adjust the springs yourself to fix this. Spring tension is stored energy, and it can release violently. That’s a call to a technician.
A door that’s out of balance also puts strain on the opener. If you’ve noticed the opener straining or the door reversing partway up, our garage door opener repair page covers how to tell an opener problem from a door problem, since the two often get blamed for each other.
Lubrication: Products That Hold Up Here and Products That Don’t
Lubrication is the job most homeowners get wrong, and the mistake usually makes things worse. The right product on the right parts reduces friction and slows wear. The wrong product attracts grit and turns into a grinding paste.
The first rule: never lubricate the tracks. Tracks are supposed to be clean and dry. Grease in a track holds dust, sand and grit, and that grit wears the rollers down faster than a dry track ever would. Your rollers are what need the attention. Second rule: use a lubricant that’s meant for garage door hardware, not cooking spray, not motor oil, not general-purpose grease. A good garage door lubricant is designed to stay put on a vertical surface and not run off or collect dust. Look for something rated for hinges, rollers and springs specifically.
In Miramar’s humidity, a thick grease that never quite sets can become a mess on the coils and attract grit. A lighter, purpose-made spray lubricant is usually the better call. Avoid anything that leaves a sticky film. If a product feels tacky a day after you apply it, it’s going to collect everything in the air, and in a garage, that’s a lot.
The parts that take lubricant:
- Roller stems and bearings, not the roller wheels themselves.
- Hinges, at the pivot points.
- The torsion spring coils, lightly, with a purpose-made product.
- The opener’s drive chain or screw, using the product the manufacturer specifies.
- The lock, if your door has one, using a dry lubricant.
Aim for twice a year, ideally before and after the storm season. Wipe off old lubricant and grit first, then apply a light coat. Over-lubricating is a real problem; you want a thin, even film, not a thick layer. And if you’re running a Genie or a Wayne Dalton opener, check the manual for the drive type before you touch it, since belt, chain and screw drives each want something different.
Post-Storm Inspection After Summer Squalls
Miramar gets fast summer storms and, most years, at least one serious brush with tropical weather. A door that came through a squall intact can still have shifted slightly, and small shifts cause big problems over time. After any significant wind and rain event, run this inspection before you cycle the door.
- Stand back and look at the door from the street. Are the panels still aligned, or is there a twist or tilt?
- Look at the tracks on both sides. Any section that’s bowed, bent or pulled away from the wall needs a technician.
- Look at the bottom seal for water intrusion and the floor for standing water that could be pooling under the door.
- Check the brackets and hinges for loose bolts. Tighten the accessible bolts, but leave anything attached to a spring alone.
- Listen for a new rattle or grinding sound the first time you run the door after the storm.
- Do a balance test once the door is dry and running freely.
Wind is the main threat, but water matters too. A door that took on water at the bottom panel can start to corrode at the seams within days. If you see water staining on the panel edges after a storm, dry them off and watch that area closely for the next month. For a door that’s badly damaged or won’t open at all after a storm, that’s when a repair can’t wait for a scheduled appointment. We handle emergency garage door service for exactly that situation. Call (855) 593-6861. We answer 24/7. Fast dispatch from 7am to 7pm, Sunday through Friday.
Seals, Weatherstripping and the Bottom Line of Your Door
Your door’s seals are the most climate-exposed parts on the whole system, and they’re the easiest to overlook. The bottom seal (sometimes called the bottom astragal) runs along the base of the door. The weatherstripping runs around the frame. Both are there to keep rain, wind, insects and heat out. In a Miramar garage, they also keep the conditioned air of the house from leaking out around the door.
A worn bottom seal shows up in a few ways. You might see daylight under the door when it’s closed, water in the garage after a storm, or a flattened, cracked or brittle profile when you press it. On wood doors, the bottom of the bottom panel is frequently the first place rot starts, because it’s the wettest. Check both the seal and the panel edge behind it.
Frame weatherstripping is the strip that runs down the sides and across the header. Look for tears, gaps, or sections that have pulled away. If the seal is intact but has a gap, sometimes it can be reattached. If the material itself is hard and cracked, it’s done.
Replacing a bottom seal is a job a capable homeowner can often handle, since the door doesn’t need to be under tension to do it. Replacing the frame weatherstripping is also usually manageable. If the bottom panel itself is rotting or the door is a wood model that’s been taking on water for years, that’s a bigger conversation, and sometimes the answer is a new door rather than another patch. A Clopay or Amarr replacement door with good seals will handle the Miramar climate better than most older wood models will.
Opener and Safety Reverse Checks
The opener is where the electronics and the mechanics meet, and it’s where a lot of doors fail without the door itself being the problem. A monthly safety test is the baseline, and it’s quick.
The safety reverse test: place a solid object, like a roll of paper towels or a piece of wood, flat on the floor in the door’s path. Run the door down. When it contacts the object, it should reverse and go back up. If it doesn’t, stop using the door and get the opener looked at. The sensors (the two photo-eye units near the floor on either side of the door) should also be checked: they should be facing each other, clean, and not obstructed, and the opener’s indicator light should tell you they’re working. If the door only reverses with the object but not the sensors, or vice versa, you’ve got a specific fault to report.
You can also listen to the opener. A chain drive that’s started to chatter, a belt that’s slipping, or a screw drive that’s grinding all point to a service item. If the opener is a smart-home-compatible model, like a LiftMaster, Chamberlain, Genie or Craftsman unit, the app often logs faults you’d otherwise miss. If your opener is on that list and it’s misbehaving, it’s worth knowing that these are all brands we work on, so a technician can diagnose the exact system rather than guessing.
What you should not do is take the opener cover off and start adjusting the force or travel limits unless you know exactly what you’re doing. Those settings are what make the safety reverse work. Get them wrong and the door can close on someone. If any part of the reverse test fails, treat it as a professional-only repair.
Homeowner Jobs vs. Professional-Only Work
This is the most important section in the guide. A lot of maintenance is genuinely doable yourself, and doing it saves you money and catches problems early. But some parts of a garage door system store enough energy to hurt you badly, and those are not homeowner jobs no matter how handy you are.
Safe for a homeowner:
- Visual inspection of panels, springs (from a distance), tracks and seals.
- Lubricating hinges, roller stems and springs with a purpose-made product.
- Replacing a bottom seal or frame weatherstripping.
- Tightening accessible bolts on brackets and hinges that aren’t attached to springs or cables.
- Running the safety reverse test and checking the photo-eye sensors.
- Cleaning the tracks with a dry cloth and clearing debris.
- Doing a balance test with the opener disconnected.
Professional-only, every time:
- Spring tension adjustments and spring replacement in any form.
- Cable replacement or re-seating a cable that’s come off its drum.
- Cable drum replacement.
- Straightening or replacing a bent track.
- Any work on the opener’s internal gearing, force settings or travel limits.
- Panel replacement that affects the door’s structural alignment.
The reason is simple. Springs and cables are under heavy tension, and a spring that releases suddenly can cause serious injury. Cables can snap and whip. A door that comes off its track under tension is a genuine hazard. That’s why spring repair is specialized work, and it’s why we handle it in-house rather than sending it out. Our garage door spring repair page explains what’s involved and why the safety step matters so much. If you’re not sure whether a job is in your lane, call and ask before you start. A free answer over the phone is cheaper than an injury.
Common Mistakes to Avoid
- Greasing the tracks. It feels like it should help, but grease in a track collects grit and sand, and that wears your rollers out faster. Tracks stay clean and dry.
- Using cooking spray or motor oil on the springs. These attract dust and gum up in Miramar’s humidity. Use a purpose-made garage door lubricant, applied lightly.
- Adjusting spring tension by yourself. This is the single most dangerous mistake on the list. Springs store a lot of energy. Leave them to a trained technician.
- Ignoring a small change in how the door sounds. A new rattle or grind is how a lot of failures start. Catching it early is usually a minor repair; catching it late is often a major one.
- Skipping the post-storm check. A door that came through a squall intact can still have a shifted track or a waterlogged bottom panel, and those get worse quickly.
- Assuming a wood door will outlast the climate. Wood in Miramar’s humidity needs more attention than a steel or aluminum door. If you have a wood door, the panel inspection is not optional.
- Forcing a door that won’t move. If the door won’t open or close, don’t keep running the opener. You’ll burn out the motor or make the mechanical fault worse.
When to Call a Professional
Call a technician if the door won’t open or close, if it’s off its tracks, or if you see a broken spring. Call if the door reverses on its own, if the opener strains or won’t lift the door, if the safety reverse fails the test, or if a cable is loose, frayed or off its drum. Call if a track is bent, if a panel is cracked or badly corroded, or if the door is binding on one side. And call if a storm has damaged the door to the point that it’s a security issue. Any of these is more than a maintenance issue, and putting it off usually makes it worse. Miramar Garage Door Repair Pros offers free estimates in Miramar. Call (855) 593-6861. We answer 24/7. Fast dispatch from 7am to 7pm, Sunday through Friday. Our technicians have up to 8 years of experience, and the estimate is written and agreed before any work starts.
Frequently Asked Questions
Plan on a monthly visual check, a balance test every three months, and a lubrication and hardware inspection twice a year. Miramar’s humidity is hard on springs and seals, so the visual check matters more here than a national checklist would suggest. If the door gets heavy use or you’ve just been through storm season, a professional inspection once a year is worth the cost.
No. Spring replacement is the single most dangerous repair on the entire door system, because the spring is under heavy tension and can release suddenly. Even experienced technicians use specialized tools for the job. If a spring is broken or losing lift, call a professional. Call (855) 593-6861 for an exact quote; estimates are free.
Rust bloom on spring coils and steel panels is normal in a humid climate like Miramar’s. Warm air holds moisture, and moisture sits on the metal and starts the corrosion process. Light surface rust can be cleaned and slowed with lubrication and routine inspection. Pitting or flaking on a spring means replacement is a question worth asking.
Look at the panel alignment from the street, check both tracks for bends or gaps, inspect the bottom seal for water intrusion, tighten any accessible bolts that aren’t on springs or cables, and listen for new sounds the first time you run the door. If anything looks bent or the door won’t run smoothly, don’t force it. Call a professional.
No, not after the written estimate is agreed. We quote the job before any work starts, and the written estimate sets the final price. If we find something during the repair that genuinely changes the job, we’ll tell you and get your agreement before doing it. Call (855) 593-6861 for an exact quote; estimates are free.
The local pro we connect you with is licensed and insured as their state requires. We work on the eight leading garage door brands, including Genie, Clopay, Amarr and Wayne Dalton, so a technician is trained on the system you actually own rather than guessing at it. One call handles the repair, the opener and, if it comes to it, a new installation.
The Bottom Line
A Miramar garage door needs a monthly look at the springs, panels and seals, a balance test every few months, and lubrication twice a year with a product that won’t attract grit. Watch for rust bloom on the coils, swelling on wood panels and a flattened bottom seal, and give the door a proper inspection after every storm. Springs, cables, tracks and the opener’s internals are professional-only. Everything else is yours to handle, and handling it keeps small problems small. If you’d rather have a trained eye on it, or if something’s already gone wrong, we’re one call away. Reach the team at Miramar Garage Door Repair Pros for a free estimate, and we’ll diagnose before we recommend.
Call (855) 593-6861 for a free estimate. We answer 24/7. Fast dispatch from 7am to 7pm, Sunday through Friday.
Written by the team at Miramar Garage Door Repair Pros.
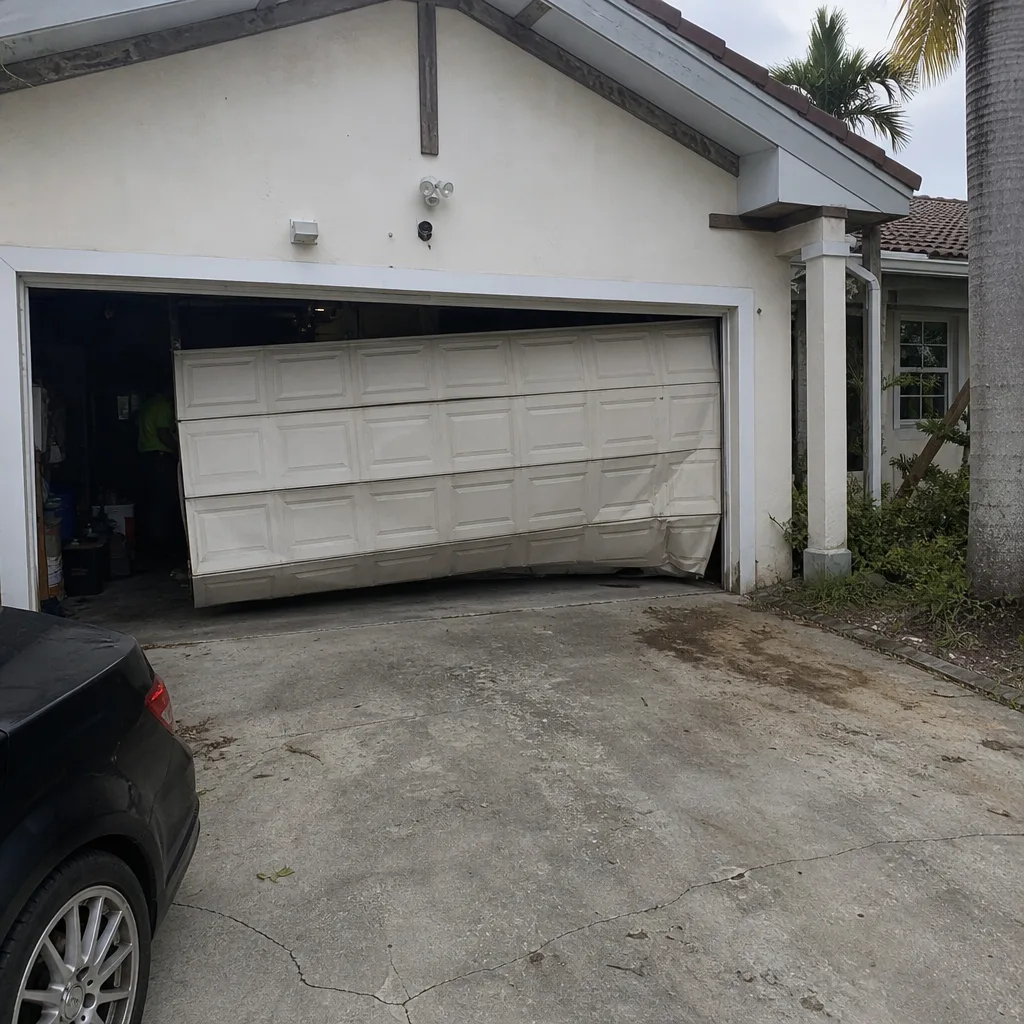
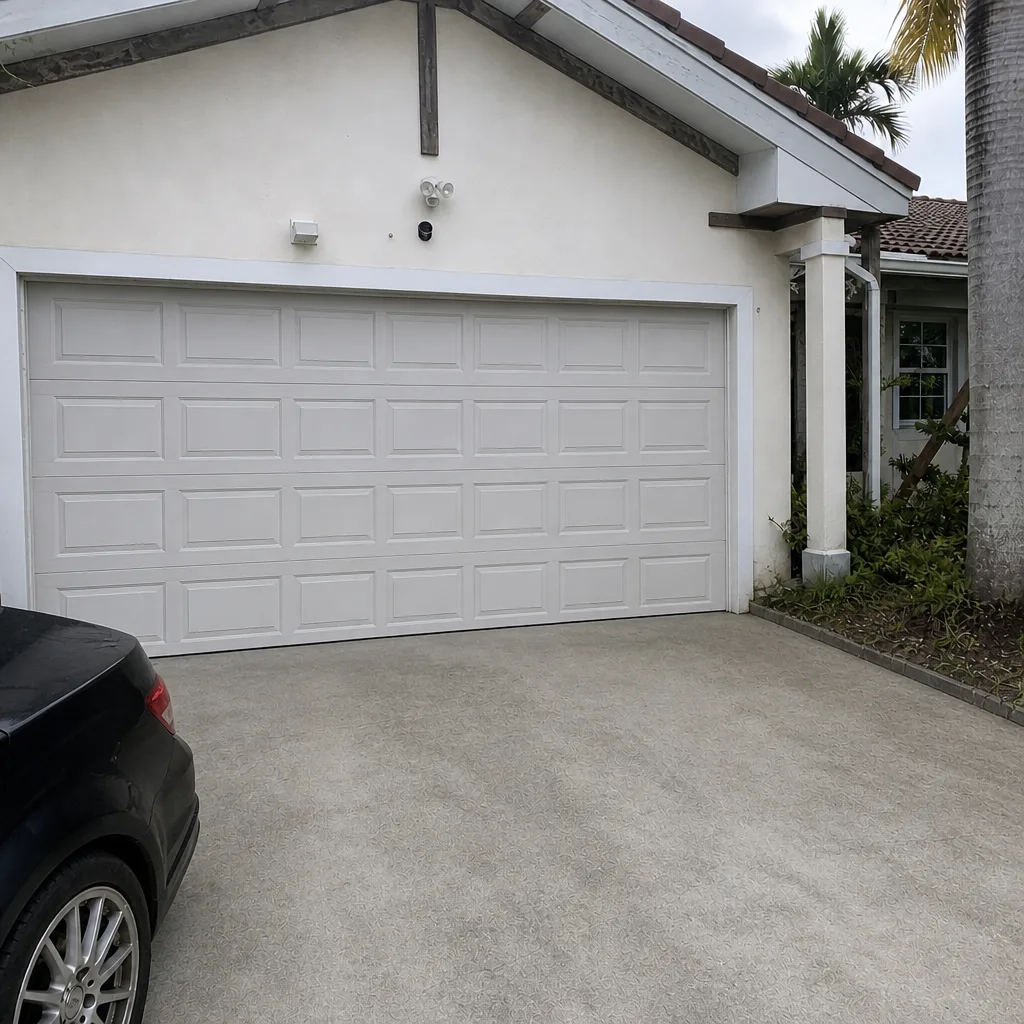
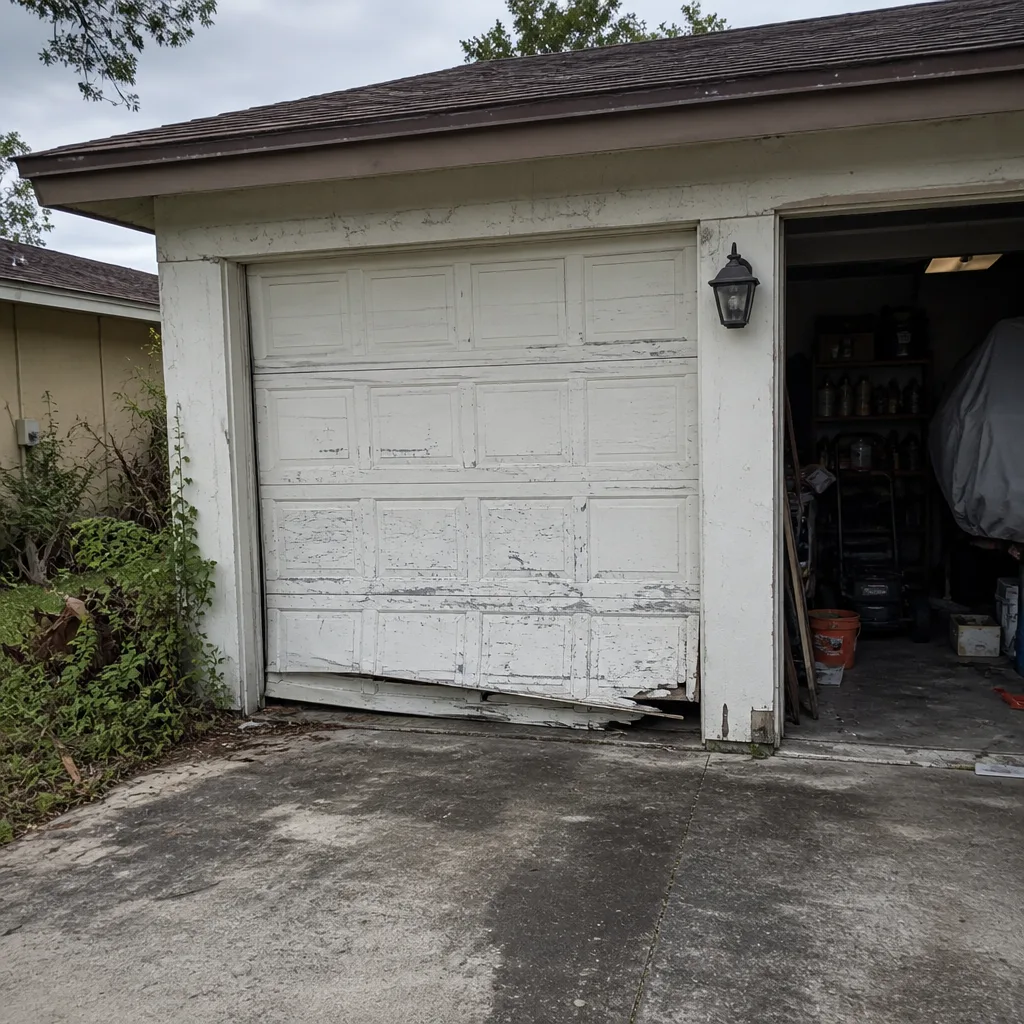
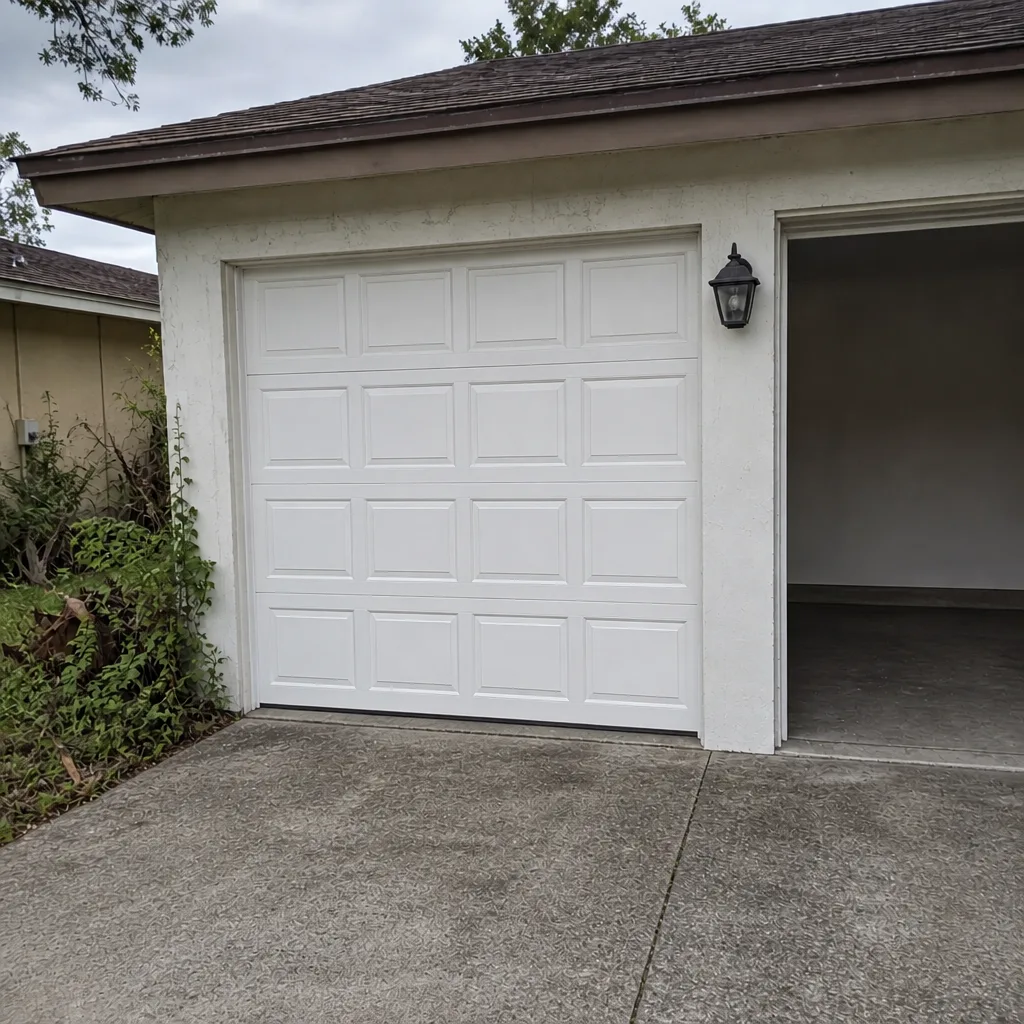
See the difference
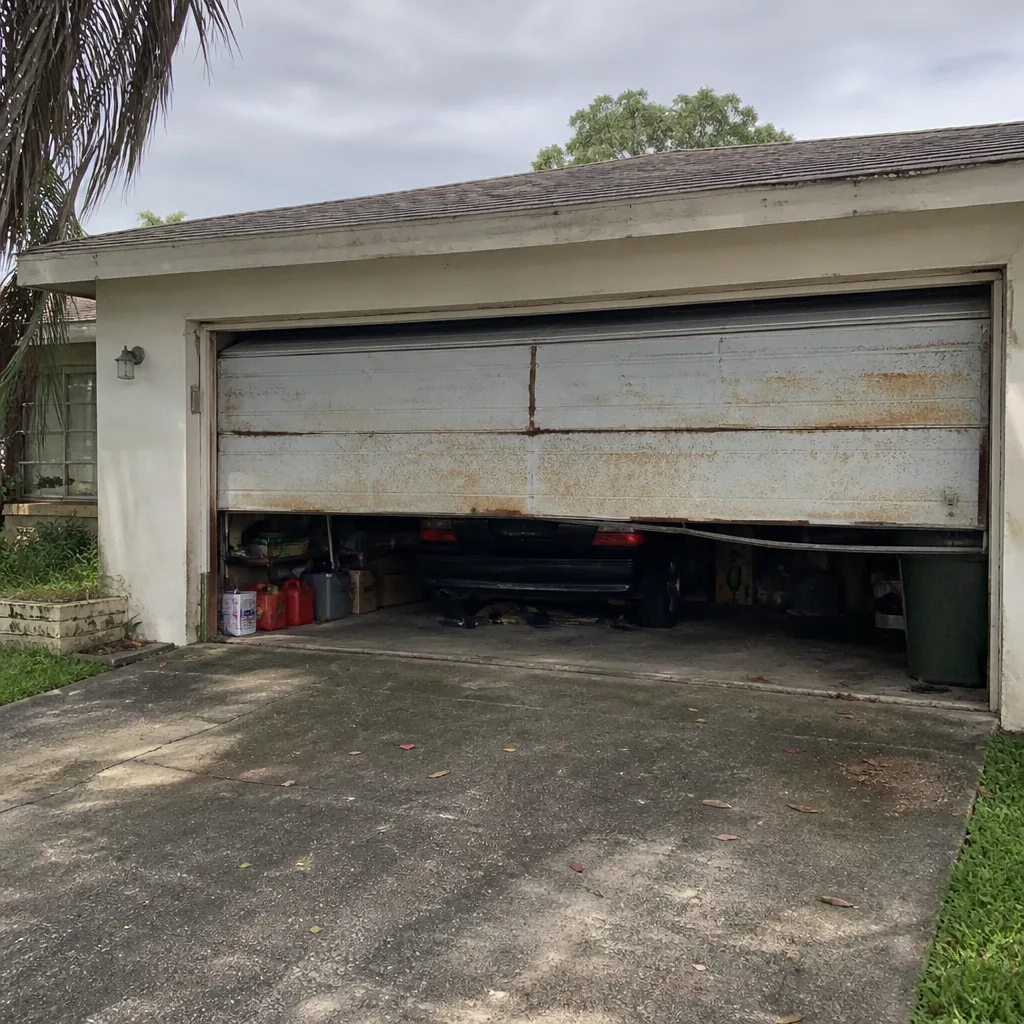 Before
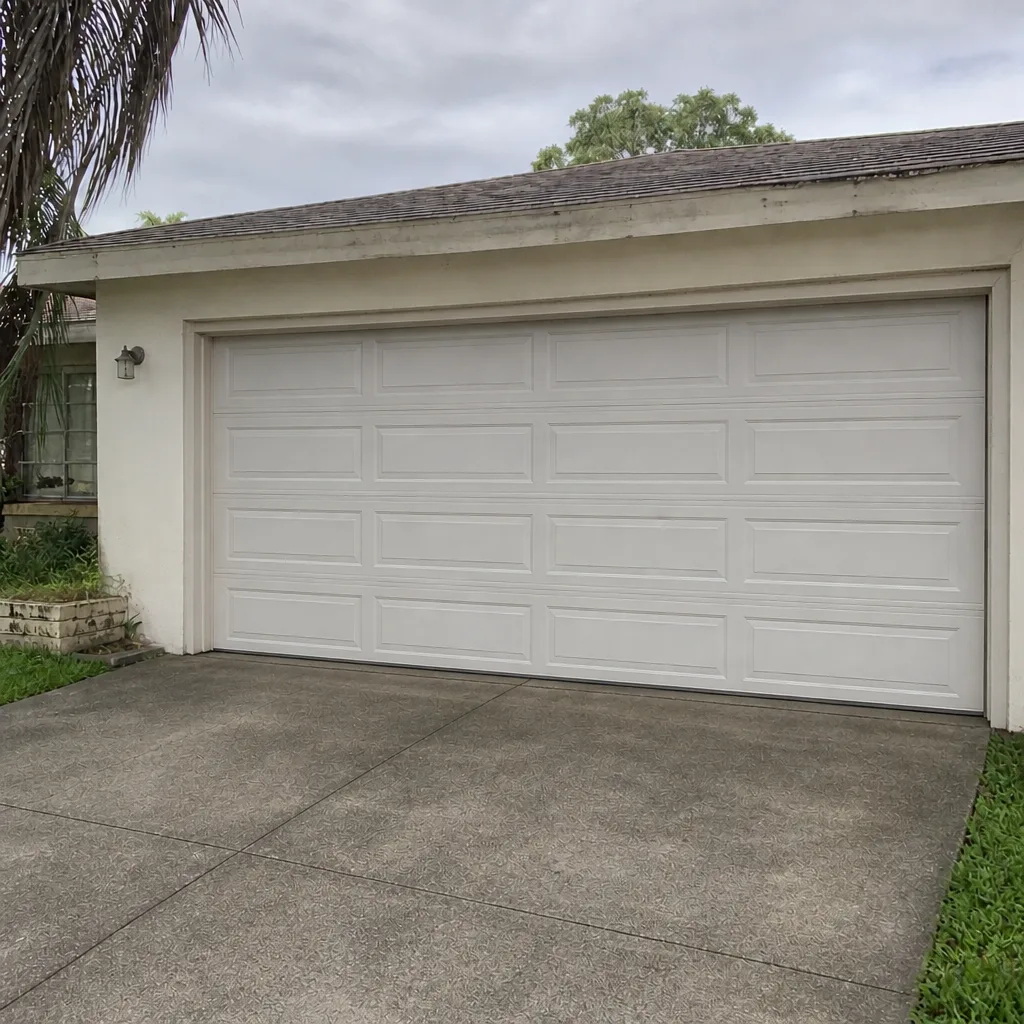 After
 Before
 After
 Before
 After